
© 2023 Created by blog.championxperience.com
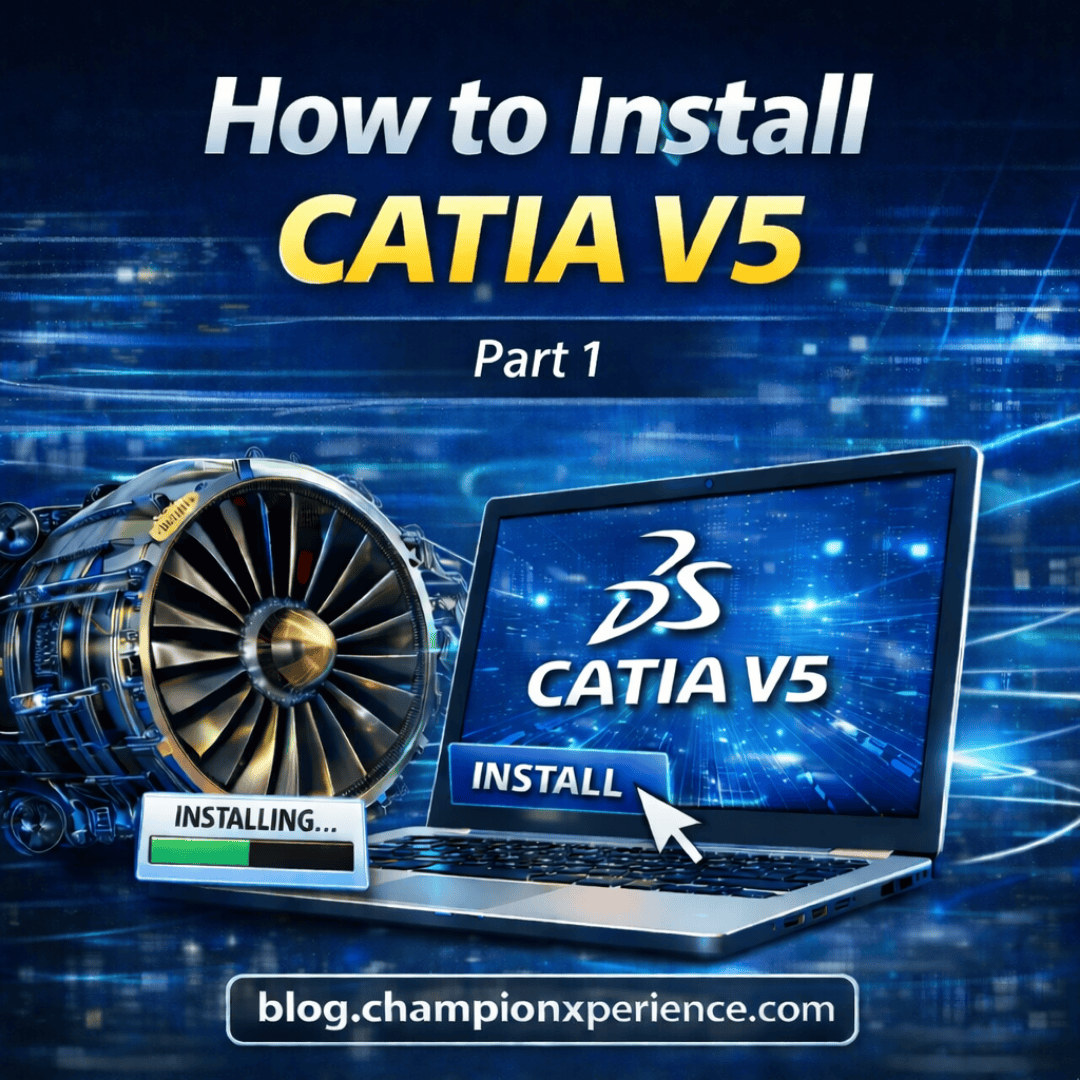
Despite 49 years passing since its inception, the CATIA software still retains its popularity. In this blog post, I will demonstrate how to install CATIA V5 on your computer, while in my other blog post, I will demonstrate step-by-step how to perform the licensing procedures (Shareable and Nodelocked). Note that all processes shown here apply to a legitimate, licensed CATIA V5 installation.
Let’s answer the first question that comes to mind: Where can I download or obtain the installation files? Installation media for both CATIA V5 and On-Premise 3DEXPERIENCE CATIA can be downloaded from the 3DS website. However, the crucial point here is that you must have specific authorization defined on this portal. Without this, you cannot download the installation media. Generally, this authorization is held by the Reseller. If you already possess the CATIA installation media and a valid license, you can complete the installation and licensing by following the steps in my blog post. If you have a license but lack the installation files, you can request them by contacting your reseller.
In this guide, we will be performing the installation of the CATIA V5-6R2025 release. When you acquire the files, you will notice that the CATIA V5 installation media is labeled as “PLM Express.” Before proceeding to the installation step, it is beneficial to briefly touch upon CATIA license types and the differences in the installation files.
CATIA License Types and Installation Files
CATIA has both legacy and new license types. If you possess legacy license types (such as MD1, YM2, CD3, etc.), this means you need the P1, P2, and P3 installation files. For instance, if you hold a YM2 license, you are required to have the P2 installation files. On the other hand, if you have the new license types (CATEE, CATMEE, CATMSE), you must have the PLM Express installation files. The new license types contain numerous modules. Your specific license configuration is determined based on your selection of modules. This can sometimes be confusing. It is beneficial to check out our CATIA License Type Identification Tool to identify your modules and license type. Now that you have understood this distinction, we can proceed to the installation step.
Installing CATIA V5
The installation files located on the 3DS website are offered for download split into parts. When you obtain the CATIA V5 installation files, you will see a zip archive consisting of two parts, as shown in the image below.

We will not extract the files separately while unzipping them. Our goal is to ensure that both files merge into a single folder. Therefore, after selecting both files, you need to right-click with your mouse and select “Extract Here” using a zip software. With this process, you will obtain a single extracted and merged file. You can use 7zip or WinRAR software to unzip.
When you open the extracted folder, you will see a folder named “1”. Inside this folder, you can see the Setup exe. We right-click on Setup with the mouse and “Run as Administrator”. We proceed through the installation steps without changing anything. It is beneficial not to change the installation location. After the location selection screen, a popup like the one in the image will appear. You must continue the installation by clicking Yes to the question asking if you want the folders for the specified path to be created. If you are installing for the first time, you may see the creation of the CATIA Environment directory path in the next step. Continue the installation by clicking Yes to this as well, as shown in the warning below.

Proceed without changing anything until the “Install” step. We start the installation by pressing the Install button that appears in the final step. When the installation process is complete, a window like the one below will appear.

Here, the “I want to launch CATIA now” checkbox is selected by default. Since we have not yet performed any licensing and Service Pack installation at this stage, we uncheck this box as shown in the image and complete the installation process.
Install Service Pack
It is also beneficial to install the Service Pack, which includes the latest updates and bug fixes. We extract the Service Pack installation file from the zip archive as well. If you have not performed an installation before, finding the Service Pack executable file might not seem as easy as it was for the V5 installation. The application file is located inside the WIN64 folder and is named “StartSPK”. We run StartSPK with administrator privileges as well. When we proceed by clicking Next in the installation window, a warning like the one in the image may appear. This warning indicates that there are processes running in the background that might prevent the installation and asks if we want to terminate these processes. We proceed with the installation by clicking Yes to this warning.

In the next step, you can continue the installation process by checking the box for the “Commit the service pack automatically” option and complete the installation by clicking Install.

Configuring Environment Variables
It is beneficial to add environment variables to prevent potential issues that may arise after the installation. To add environment variables, type “Env” into the Start menu search bar and open the setting shown in the image.

You can access the Environment Variables window by selecting the “Environment Variables” button from the System Properties window that appears. In this window, we will define a new variable for the system by clicking the “New” button located under the “System Variables” section.

Our first variable name is “DSLICENSING”. After typing “DSLS” as the variable value, we add the variable to the system by clicking OK.

We repeat the same process for the following variable:
- Variable name: DSY_DISABLE_WININET
- Variable value: TRUE
License Distribution Types
Nodelocked and Server-based (Shareable) license distribution types provide users with great flexibility. Deciding on the licensing type is an important step you need to make based on your needs during the CATIA purchase. Of course, switching between license types is also possible.
Nodelocked License
- If you want the license to work specifically on your computer, you can choose the Nodelocked license distribution type.
- Nodelocked license files are in .LIC format.
Shareable (SRV) License
- If you want licenses to be distributed to users via a central PC, you can choose the SRV, meaning Shareable license type.
- The Shareable license type brings many advantages. For example, if you have a single license but two designers; when one user closes CATIA (ends their session), a user on a different computer can start CATIA.
- You can possess different license types. For instance, you can use CATEE for your Junior Designer team and CATMSE for your Senior Designer team. You can distribute all of them via a single PC.
- Shareable license files are in .LICZ format.
In this blog post, we will proceed with the process based on the installation of the Shareable license type. The Shareable licensing type requires an additional installation. If you need information regarding the Nodelocked license type, please let us know in the comments, and we can create specific blog content for this topic as well.
Creating the Licensing Folder and File
To retrieve a Shareable license, we need to create a specific folder and a text file. This folder must be created within the ProgramData\DassaultSystemes directory. The ProgramData folder is generally hidden. To view this folder, you need to enable the “Hidden items” option as shown in the image.

Once you navigate to the ProgramData\DassaultSystemes directory path, you must create a folder named “Licenses”. Inside this folder, you need to create a text file named “DSLicSrv”. Case sensitivity (upper and lower case) is important here. Therefore, it is crucial to name them exactly as specified.

Inside this file, you need to write the IP address of the computer where the license server is installed, followed by the DS License Server port number. For security reasons, I have not shown my direct IP, but I will explain this with an example.
For example: You need to type IPv4 Address:4085, save the file, and close it. You need the IP address of the computer where the DS License Server (License Administration Tool) is installed. To find this address, you can type ipconfig while on the Command Prompt (CMD) screen to reveal the computer’s IP address. Additionally, if you want to use CATIA on the same computer where the License Administration Tool is installed, writing localhost:4085 into the text file is sufficient.
Conlusion
Now you know how you need to perform the CATIA installation step-by-step. If the license server program is installed and you have provided the correct IP address, CATIA will work by properly retrieving the license. However, if you also need to install the License Server, you can review my next blog post from the link below.
Co-Founder at ChampionXperience
Ridvan Polat is a SOLIDWORKS Elite Application Engineer, Founder of ChampionXperience, and a recognized SOLIDWORKS, ENOVIA, and 3DEXPERIENCE Champion. He specializes in CATIA & ENOVIA technical support and 3DEXPERIENCE early engagement adaptation, helping organizations optimize PLM workflows.
Latest posts by Rıdvan Polat (see all)
- How to Set Up DS License Server - 13 February 2026
- How to Install CATIA V5 - 13 February 2026
- How to Create Technical Drawings in Onshape: BOMs, Exploded Views & More - 5 February 2026
Subscribe
0 Comments
Oldest
