
© 2023 Created by blog.championxperience.com
In this part of the installation series, we will install the License Server, also known as the License Administration Tool. This software hosts and distributes license files, allowing you to decide which user retrieves which license. Additionally, we will create the necessary security rules for Windows.
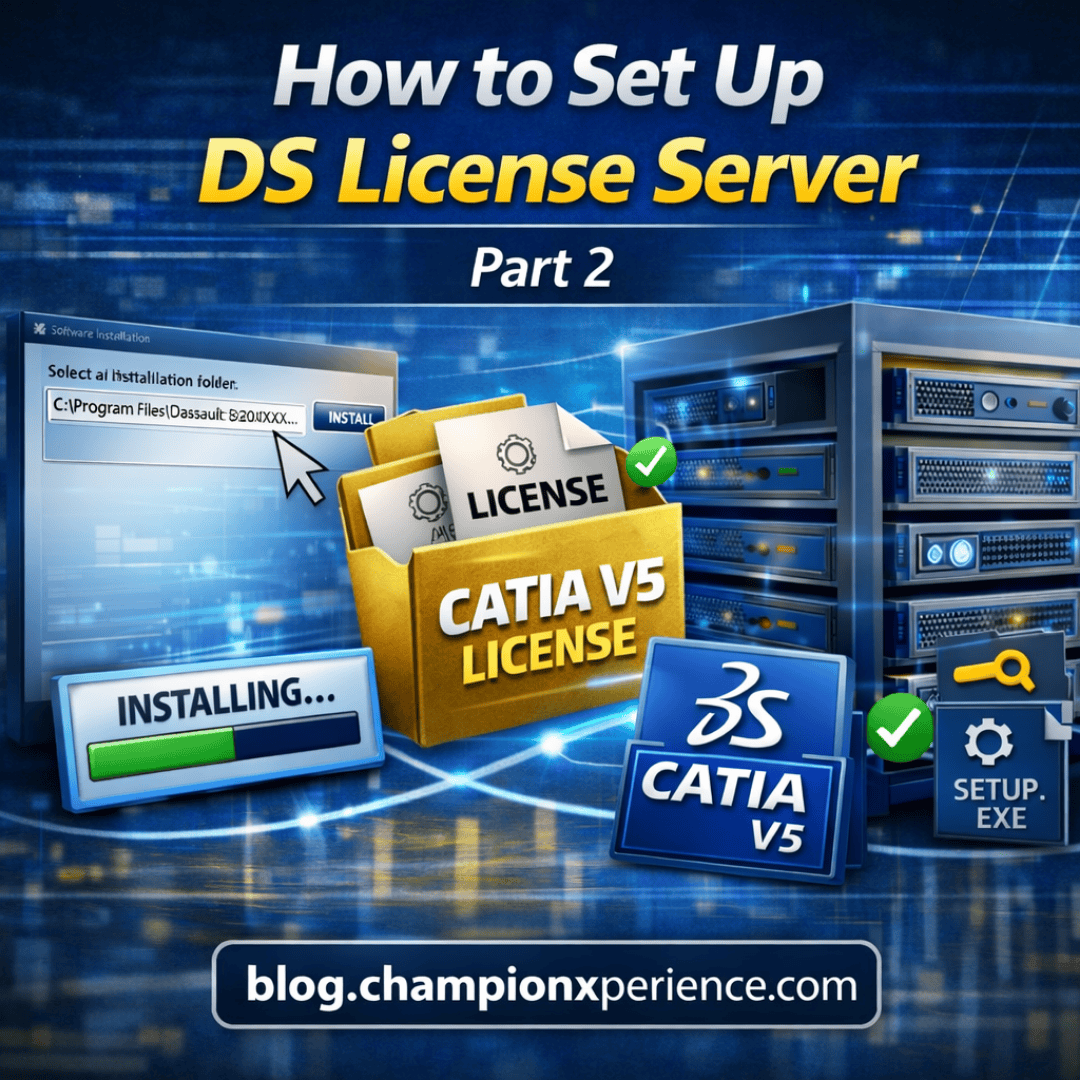
Set Up DS License Server
It is generally recommended to install the DS License Server on a dedicated machine with basic specifications that remains constantly active, rather than on a user’s workstation. We unzip the downloaded or obtained installation file and run the setup with administrator privileges. If you are installing for the first time, you can complete the installation by clicking Next without making any changes. If you have installed it before and are installing the new version due to an upgrade requirement, you can proceed by checking the “Install from scratch. WARNING: All license keys will be deleted” option to perform a clean installation by removing the existing licenses as well.

When the installation is complete, the program launches automatically. You will be greeted by a “localhost” mini-window. “localhost” is an automatically assigned name. If you wish to change it, you can confirm it after making the change.

After your confirmation, you will see the “not connected” status just to the right of localhost. After double-clicking on localhost and confirming the window that appears, the “not connected” text disappears. However, this does not mean you are connected. To establish a connection, we need to import the files in LICZ format sent by your Reseller. Click on the License menu located on the top bar of the License Administration Tool window and select the “Enroll” option.

A window will appear allowing you to select the license files. You can select all your license files and enroll them. The imported files must be loaded without errors (without turning red).
There is an important detail here. When license files are generated by DS, they are created based on the specific computer where the DS License Server (License Administration Tool) application will be installed. In other words, when purchasing a license, you are asked for the Target ID/Computer ID information of the computer where this application will be hosted, and DS generates the licenses according to this information. When you need to change computers, you must report the new computer’s Target ID/Computer ID through your reseller. This way, you can perform a seamless installation with the new license files.
Firewall Permissions
To ensure the License Administration Tool operates correctly, we need to add rules to the Windows Firewall. Thanks to these rules, Windows will not reject license retrieval requests coming from different computers, ensuring that the license is granted. Type “fire” into the Start menu and open the application shown in the image.

We will grant permission by adding port numbers 4084 and 4085 to both the Inbound and Outbound rules sections. Port 4084 is for the License Administration Tool traffic. Port 4085 is for license retrieval/granting traffic and is critical. To prevent potential issues in the future, we allow both port numbers through both Inbound and Outbound rules.
Right-click on “Inbound Rules” with your mouse and select the “New Rule” option.

Select the “Port” option from the window that opens and continue.

We will add the rules based on “TCP” (Transmission Control Protocol). TCP focuses on reliability and ensures data tracking. Enter the values 4084, 4085 into the “Specific local ports” field and continue.

In the Action step, ensure that the “Allow the connection” option is selected and continue.

In the Profile step, the Domain and Network options usually come selected by default. This ensures the rule works in every environment. Proceed to the next step.

In the Name step, giving our rule a meaningful name is important for future management. I prefer the name below, but you can choose any name you like.
DSLS_ Inbound_4085_4084

You can complete the rule creation step by clicking Finish.
Repeat the same process for Outbound Rules and allow port numbers 4084 and 4085. I used the following name for the rule:
DSLS_Outbound_4085_4084
Starting CATIA V5
If you have completed all steps exactly, you can start the program by double-clicking the CATIA V5 shortcut on your desktop. It may not retrieve the license upon the first launch. If there are licenses currently in use by other users, it may not be able to decide which license is available and will ask you to select one. You can view the license selection window by clicking OK on the warning.

Your license type might be CATEE, CATMEE, or CATMSE, but you may not see a selection screen directly with these names. These license types contain many modules, and you will see the combination of these modules on the selection screen. You can learn what each module means by checking out our License Type Identification Tool.

Check the boxes for the modules that are active and that you wish to use on this computer. I am selecting the module located at the very top and confirming the window. You must close and restart CATIA for the setting to take effect. If you see that it successfully retrieves the license and runs when you restart CATIA, it means you have completed the installation process correctly.

Conlusion
You now know how the installations of CATIA V5 and the License Server are performed. If you have questions or need assistance, you can mention this in the comments.
Co-Founder at ChampionXperience
Ridvan Polat is a SOLIDWORKS Elite Application Engineer, Founder of ChampionXperience, and a recognized SOLIDWORKS, ENOVIA, and 3DEXPERIENCE Champion. He specializes in CATIA & ENOVIA technical support and 3DEXPERIENCE early engagement adaptation, helping organizations optimize PLM workflows.
Latest posts by Rıdvan Polat (see all)
- How to Set Up DS License Server - 13 February 2026
- How to Install CATIA V5 - 13 February 2026
- How to Create Technical Drawings in Onshape: BOMs, Exploded Views & More - 5 February 2026
Subscribe
0 Comments
Oldest
