

Artificial intelligence is developing rapidly every day, creating a need for its use in every aspect of our lives. It has entered every field, from coding to image and video generation, and even voice generation. But what about the design (CAD) field?
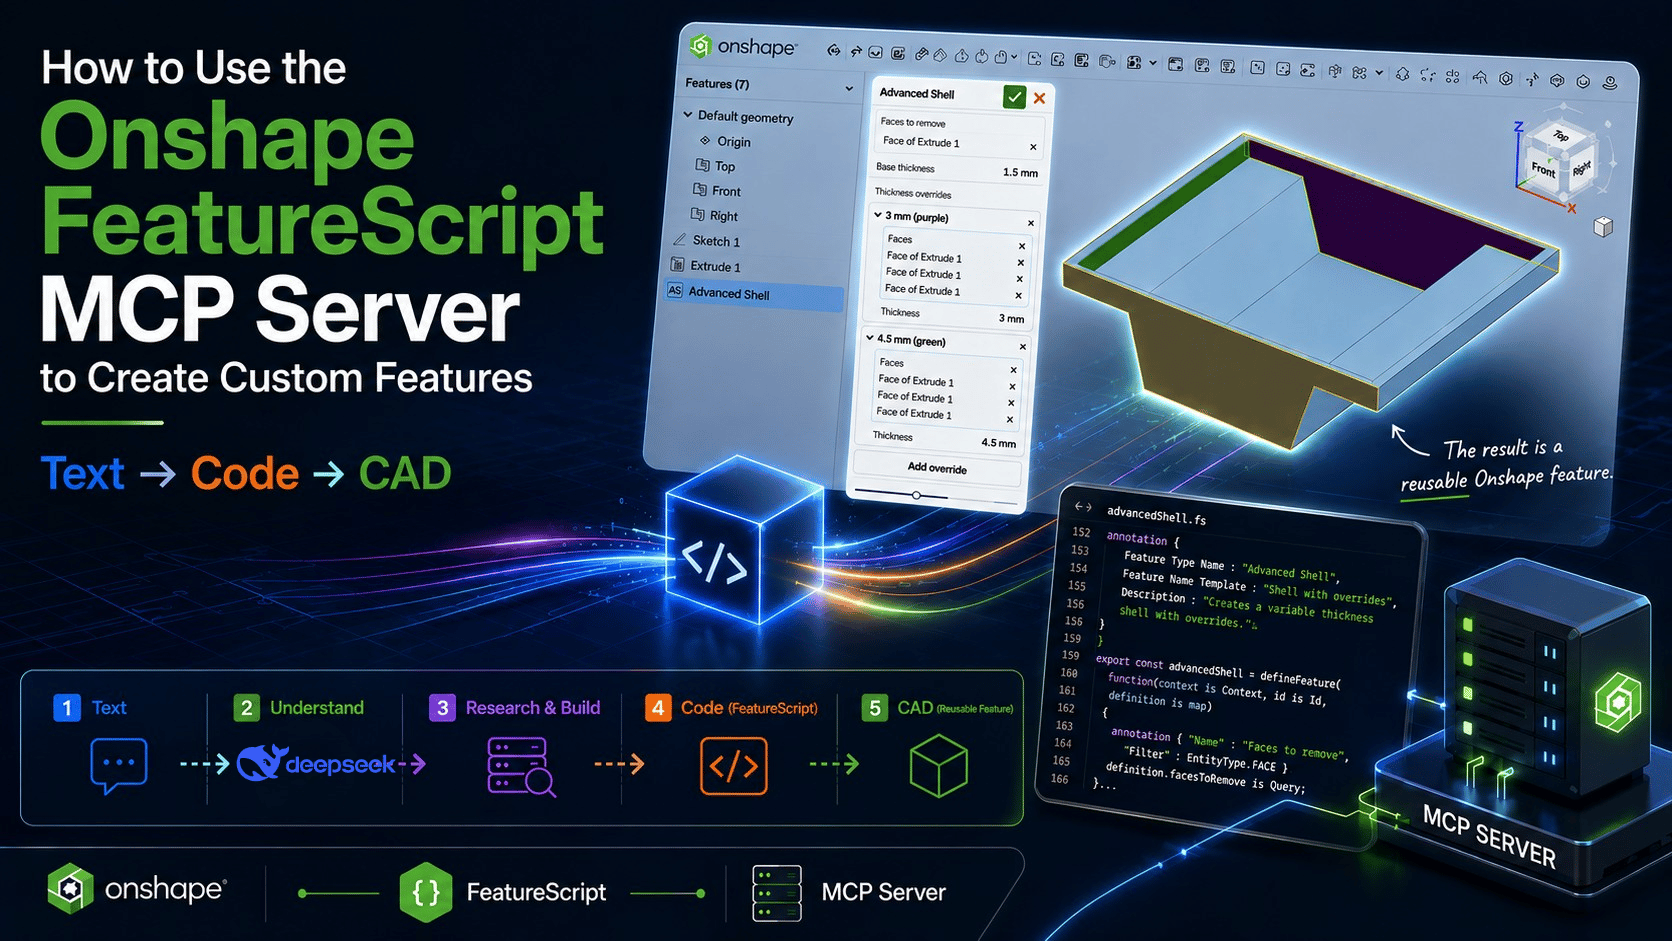
There are many AI-powered tools for 3D design, but they are still far from producing models that are as original as a designer’s work and as reliable as an engineer’s. While the text-to-CAD concept is functional for simple designs, industrial product design still requires human expertise. Instead of relying on Text-to-CAD, Onshape introduced a Text-to-Code-to-CAD workflow through the Onshape Labs FeatureScript MCP Server, allowing designers and engineers to customize their CAD environment to address unique workflow needs and simplify repetitive tasks.
Instead of creating a 3D model directly from text, Onshape takes the problems designers encounter in their repetitive tasks as text input and uses an LLM to make sense of them. Then, using the Onshape Labs FeatureScript MCP Server, the LLM researches and understands how the required structure should be created, generates the Onshape FeatureScript, and turns it into a Feature that the designer can use whenever needed.
This allows designers to speed up their work by using their own custom commands, just like they use the Hole command.
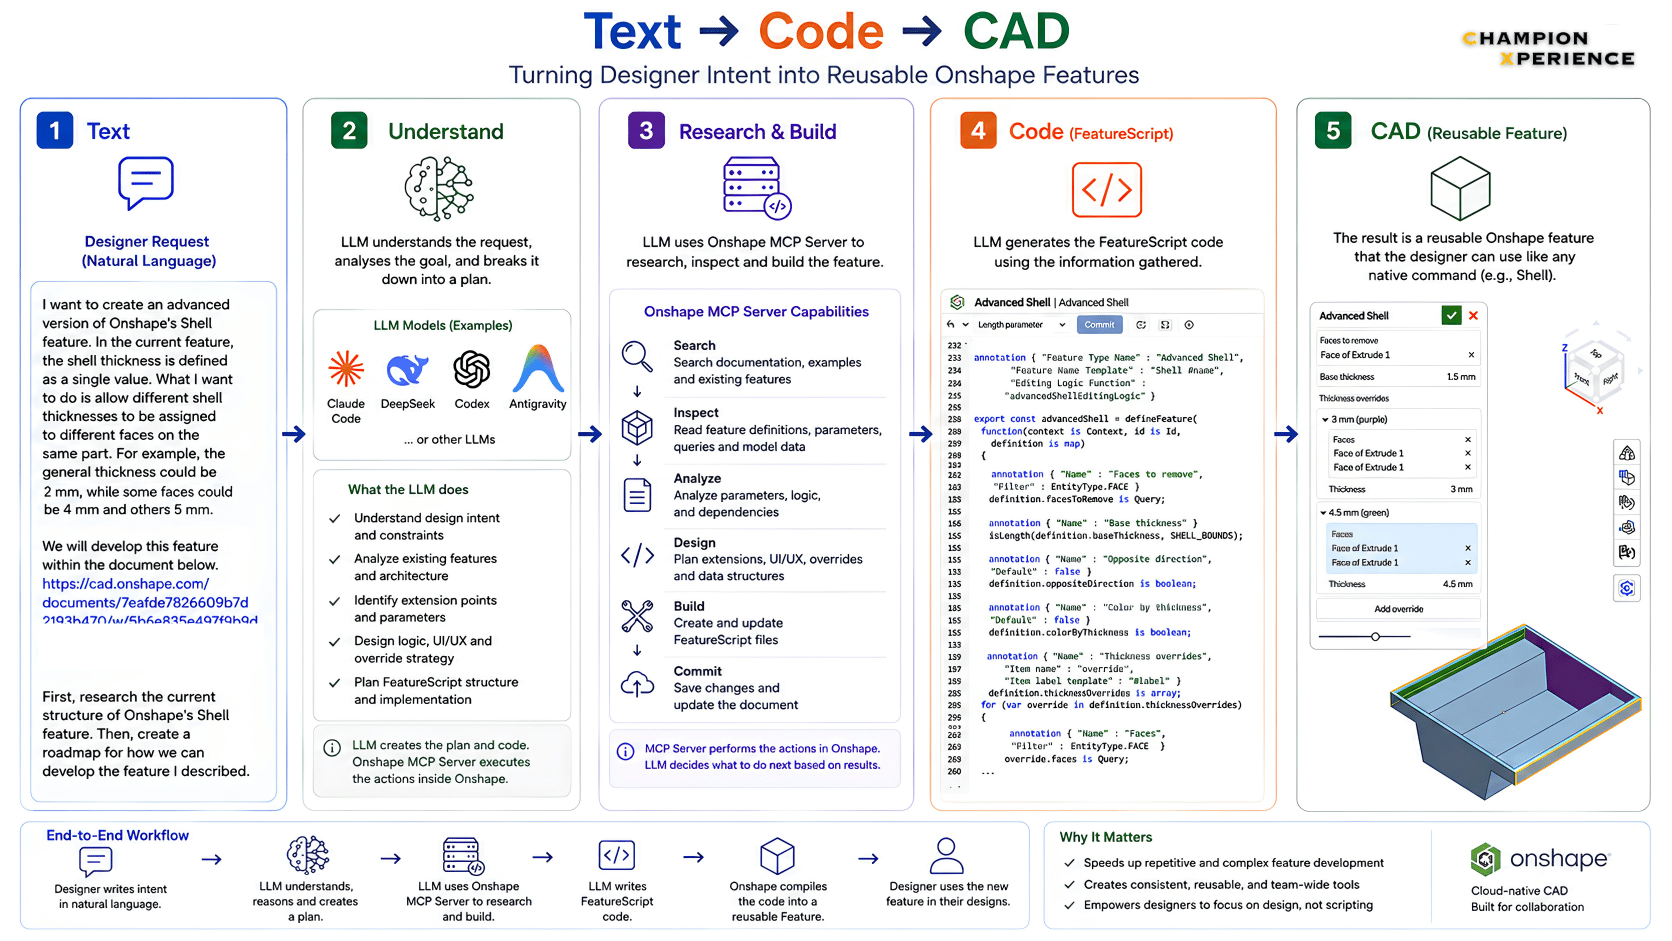
Before moving on to what you can do with the FeatureScript MCP Server, it is useful to learn how to connect the LLM you use to it. Before getting into the details, it is worth remembering that you need an Onshape account and an LLM of your choice. We used the DeepSeek V4 Pro model through the Claude Code interface on a Windows PC.
Pro Tip: Find the Onshape Labs FeatureScript MCP in the Onshape App Store and subscribe to it. The subscription is completely free. The Getting set up section specifies the parameters you can use to connect to the MCP server.
Pro Tip: Open a new terminal, select the Workspace where the terminal will run, and paste the following code:
claude mcp add –transport http Onshape-Labs https://fs-mcp.labs.onshape.app/mcp
The text I highlighted in green is the name you will give to your MCP server. You can customize it however you like.
After seeing the notification that it has been added, it is a good idea to check your MCP list. You can use the following code to do so.
claude mcp list
As a result of this check, you will see a warning like:
Onshape-Labs https://fs-mcp.labs.onshape.app/mcp – I Needs authentication
This indicates that authentication is required. At this point, restart VS Code, open a terminal in the relevant Workspace again, and connect to Claude. Claude will show you a prompt to authenticate the MCP server.
By typing /mcp in the chat area, we select and authorize the MCP we just added under the name Onshape-Labs. After making your selections, you will be redirected to your browser and see an Onshape page where you need to grant permission. Once you have authorized it, you can return to VS Code.
Congratulations! You are now connected to the FeatureScript MCP Server. Now you can dive into the text-to-code-to-CAD world.
Now let’s answer that question: What can you actually do with the FeatureScript MCP Server? You can understand this better with some examples in the table below.
| Category | Real engineering examples |
| Standards-based parts | ASME B1.20.7 garden hose thread; hydraulic ports (standardized, repetitive geometry) |
| Configurable parts and families | Catalog-driven roller chain sprocket generator — variable strand counts + automatic manufacturing annotations, producing “countless variations” |
| Reusable libraries | Color spectrum library (switchable gradients); material property + dimensional lookup utilities; spatial query functions |
| Custom / niche features | Blend Corner — smooth transitions between intersecting fillets |
| Featurization (consolidation) | 60-feature piston model → a single parametric feature |
| Embedded analysis and systems | FEA beam analysis (deformation + frequency response); ASME-standard heat exchanger design system (shell-and-tube + thermal calculation, complete assembly) |
For more details on the examples, you can click this link.
I have been testing the FeatureScript MCP Server since the day it was released and have created many examples. I have explained some of these examples below, including why and at which steps they were created.
Unlike the standard Onshape Shell command, this LLM-powered custom feature allows you to apply different shell thicknesses to different faces. Behind the scenes, it combines Shell + Move Face operations to achieve this.
You can access the entire workflow, from the first prompt I gave to create this command to all the steps that were carried out, in the PDF below.
Pro Tip (Page 1): Simply stating your needs directly and jumping into coding will not always produce good results. Therefore, after explaining your needs in detail in Plan mode, having the LLM research whether this is possible in Onshape allows the process to move forward on a more solid foundation, while also saving tokens in your LLM. You can also add the link to the Onshape document where you want the new Feature to be created to the chat.
Pro Tip (Pages 2–4): As a result of the research, the LLM will present you with some options. You can choose the ones that suit your needs, or, if none of the options are suitable, you can specify exactly what you want through the chat.
Pro Tip (Pages 5–9): After your answers, the LLM will provide you with a summary of what will be done and ask for your approval. Once you approve, it starts coding step by step according to the roadmap, completing each section along the way.
Pro Tip (Page 10): Once the necessary coding is completed, the code is deployed to the document you selected through the FeatureScript MCP Server, and the operations performed are summarized. At this point, you should go to the document and test it in the Part Studio environment.
Pro Tip (Page 11): In some cases, the created Feature may not appear, or different errors may occur, and Onshape will give you a warning. When you click on the warning, you can see the errors in the code. Copying these errors and adding them to the LLM chat is enough to resolve the issues.
Pro Tip (Pages 12–13): The Advanced Shell command is now working, but it is not actually working exactly as we want. If the Feature you created is not working as expected or you want to improve it, you can return to the LLM chat and request changes.
Pro Tip (Page 14): However, before doing this, it is a good idea to create a Version of its current state. This way, you can see the development of the Feature and use the desired version if needed.
Pro Tip (Pages 15–16): The changes made according to your revision request are summarized. At this point, you should return to Onshape and test it again.
Pro Tip (Pages 17–18): When examining the tests, you can see that Advanced Shell is working exactly as requested.
Pro Tip (Page 19): The current Advanced Shell is running in the Main workspace. This means that tests performed in this document will use the most up-to-date state. However, when you use the Feature in another document, that document may still be referencing the V1 version. To make the latest version available there, you need to create a new Version and update the linked custom Feature to that Version.
After using the Advanced Shell command for a while, I added another feature. I made it possible to optionally assign colors to the faces with different thicknesses. This way, each different thickness is represented by a different color, providing a much better visualization.
I needed a command that would allow me to perform welding operations in Onshape.
However, rather than simply showing a weld bead, I wanted the command to include details related to its real-world application as well. The Weld Bead command includes the following features:
I worked in the field of design automation for many years. Using the knowledge and experience I gained in this field, I wanted to create a furniture-focused Feature.
However, I included so many details in this Feature that I still find it hard to believe that all of this can be done within a single command. Knowing that there are separate software solutions that perform similar tasks continues to amaze me. So, what can Cabinet Creator do?
The Features you create only appear in the Part Studio environments of the document where they are created. When you create a new document or open a previously created one, you won’t see the Feature in the toolbar. This is because Custom Features from other documents must be linked to a Version of the document containing the FeatureScript.
After creating a Version of the document containing your FeatureScript code, you can follow the steps shown in the video to add it to your Custom Features and use it in other documents.
Each request sent from the LLM to the FeatureScript MCP Server is subject to a quota for security and resource management purposes. You can use the link to access detailed information about quotas.
To help you use your quota as efficiently as possible, we have prepared an .md file that provides the LLM with guidance on how to interact with the FeatureScript MCP Server and helps it use the available tools more efficiently. After downloading the CLAUDE.md file below, you can add it to the workspace you use for your Onshape projects.
I can say that I find the FeatureScript MCP server introduced with Onshape Labs to be a more realistic solution compared to Text-to-CAD, as it allows designers and engineers to create their own custom Features tailored to their unique workflow needs and speed up their repetitive tasks.


